Staining Wood: Can You Apply Danish Oil Afterwards?
Are you considering staining your wood and then applying Danish oil after? This is a common question among woodworkers who want to achieve a specific look for their projects. While some people swear by this technique, others are hesitant to try it out. In this article, we will explore whether it is okay to stain wood and then apply Danish oil after, and what you need to know before attempting this technique.
According to woodworking experts, it is possible to apply Danish oil over a stained wood surface. However, there are some important factors to consider before you start. First, you need to ensure that the stain is completely dry before applying the Danish oil. This is because the oil can prevent the stain from drying properly, resulting in a sticky and uneven finish. Additionally, you need to make sure that the stain and the oil are compatible with each other. Some types of stains may not work well with Danish oil, so it’s important to test the combination on a small area first.
Overall, staining wood and then applying Danish oil after can be a great way to enhance the appearance of your project. However, it’s important to follow the right steps and use the right products to achieve the desired results. In the following sections, we will explore the benefits and drawbacks of this technique, as well as some tips for getting the best possible finish.
Understanding Wood Staining
What is Wood Staining?
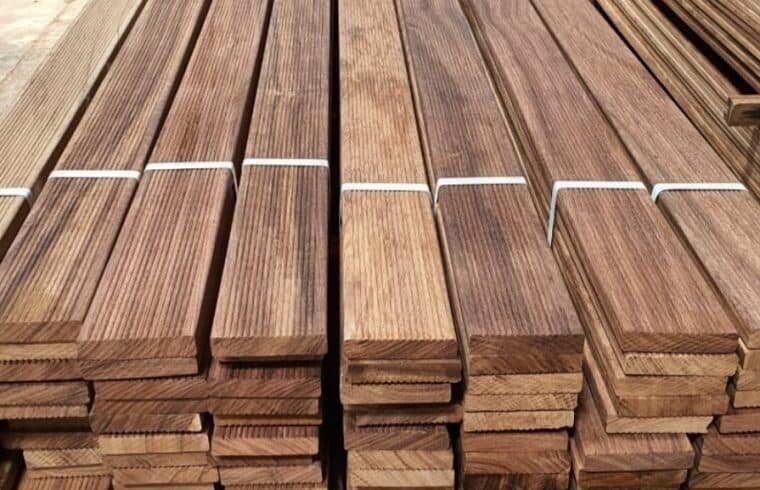
Wood staining is a process of adding color to the wood. It is done by applying a pigmented solution to the surface of the wood. The pigments in the solution penetrate the wood and give it a colored appearance. Wood stains come in a variety of colors and shades, and they can be used to enhance the natural beauty of the wood or to give it a completely different look.
Benefits of Wood Staining
There are many benefits to staining wood. Here are a few:
- Enhances natural beauty: Staining wood can help bring out the natural beauty of the wood grain and texture.
- Color customization: Wood stains come in a variety of colors and shades, allowing you to customize the look of your project.
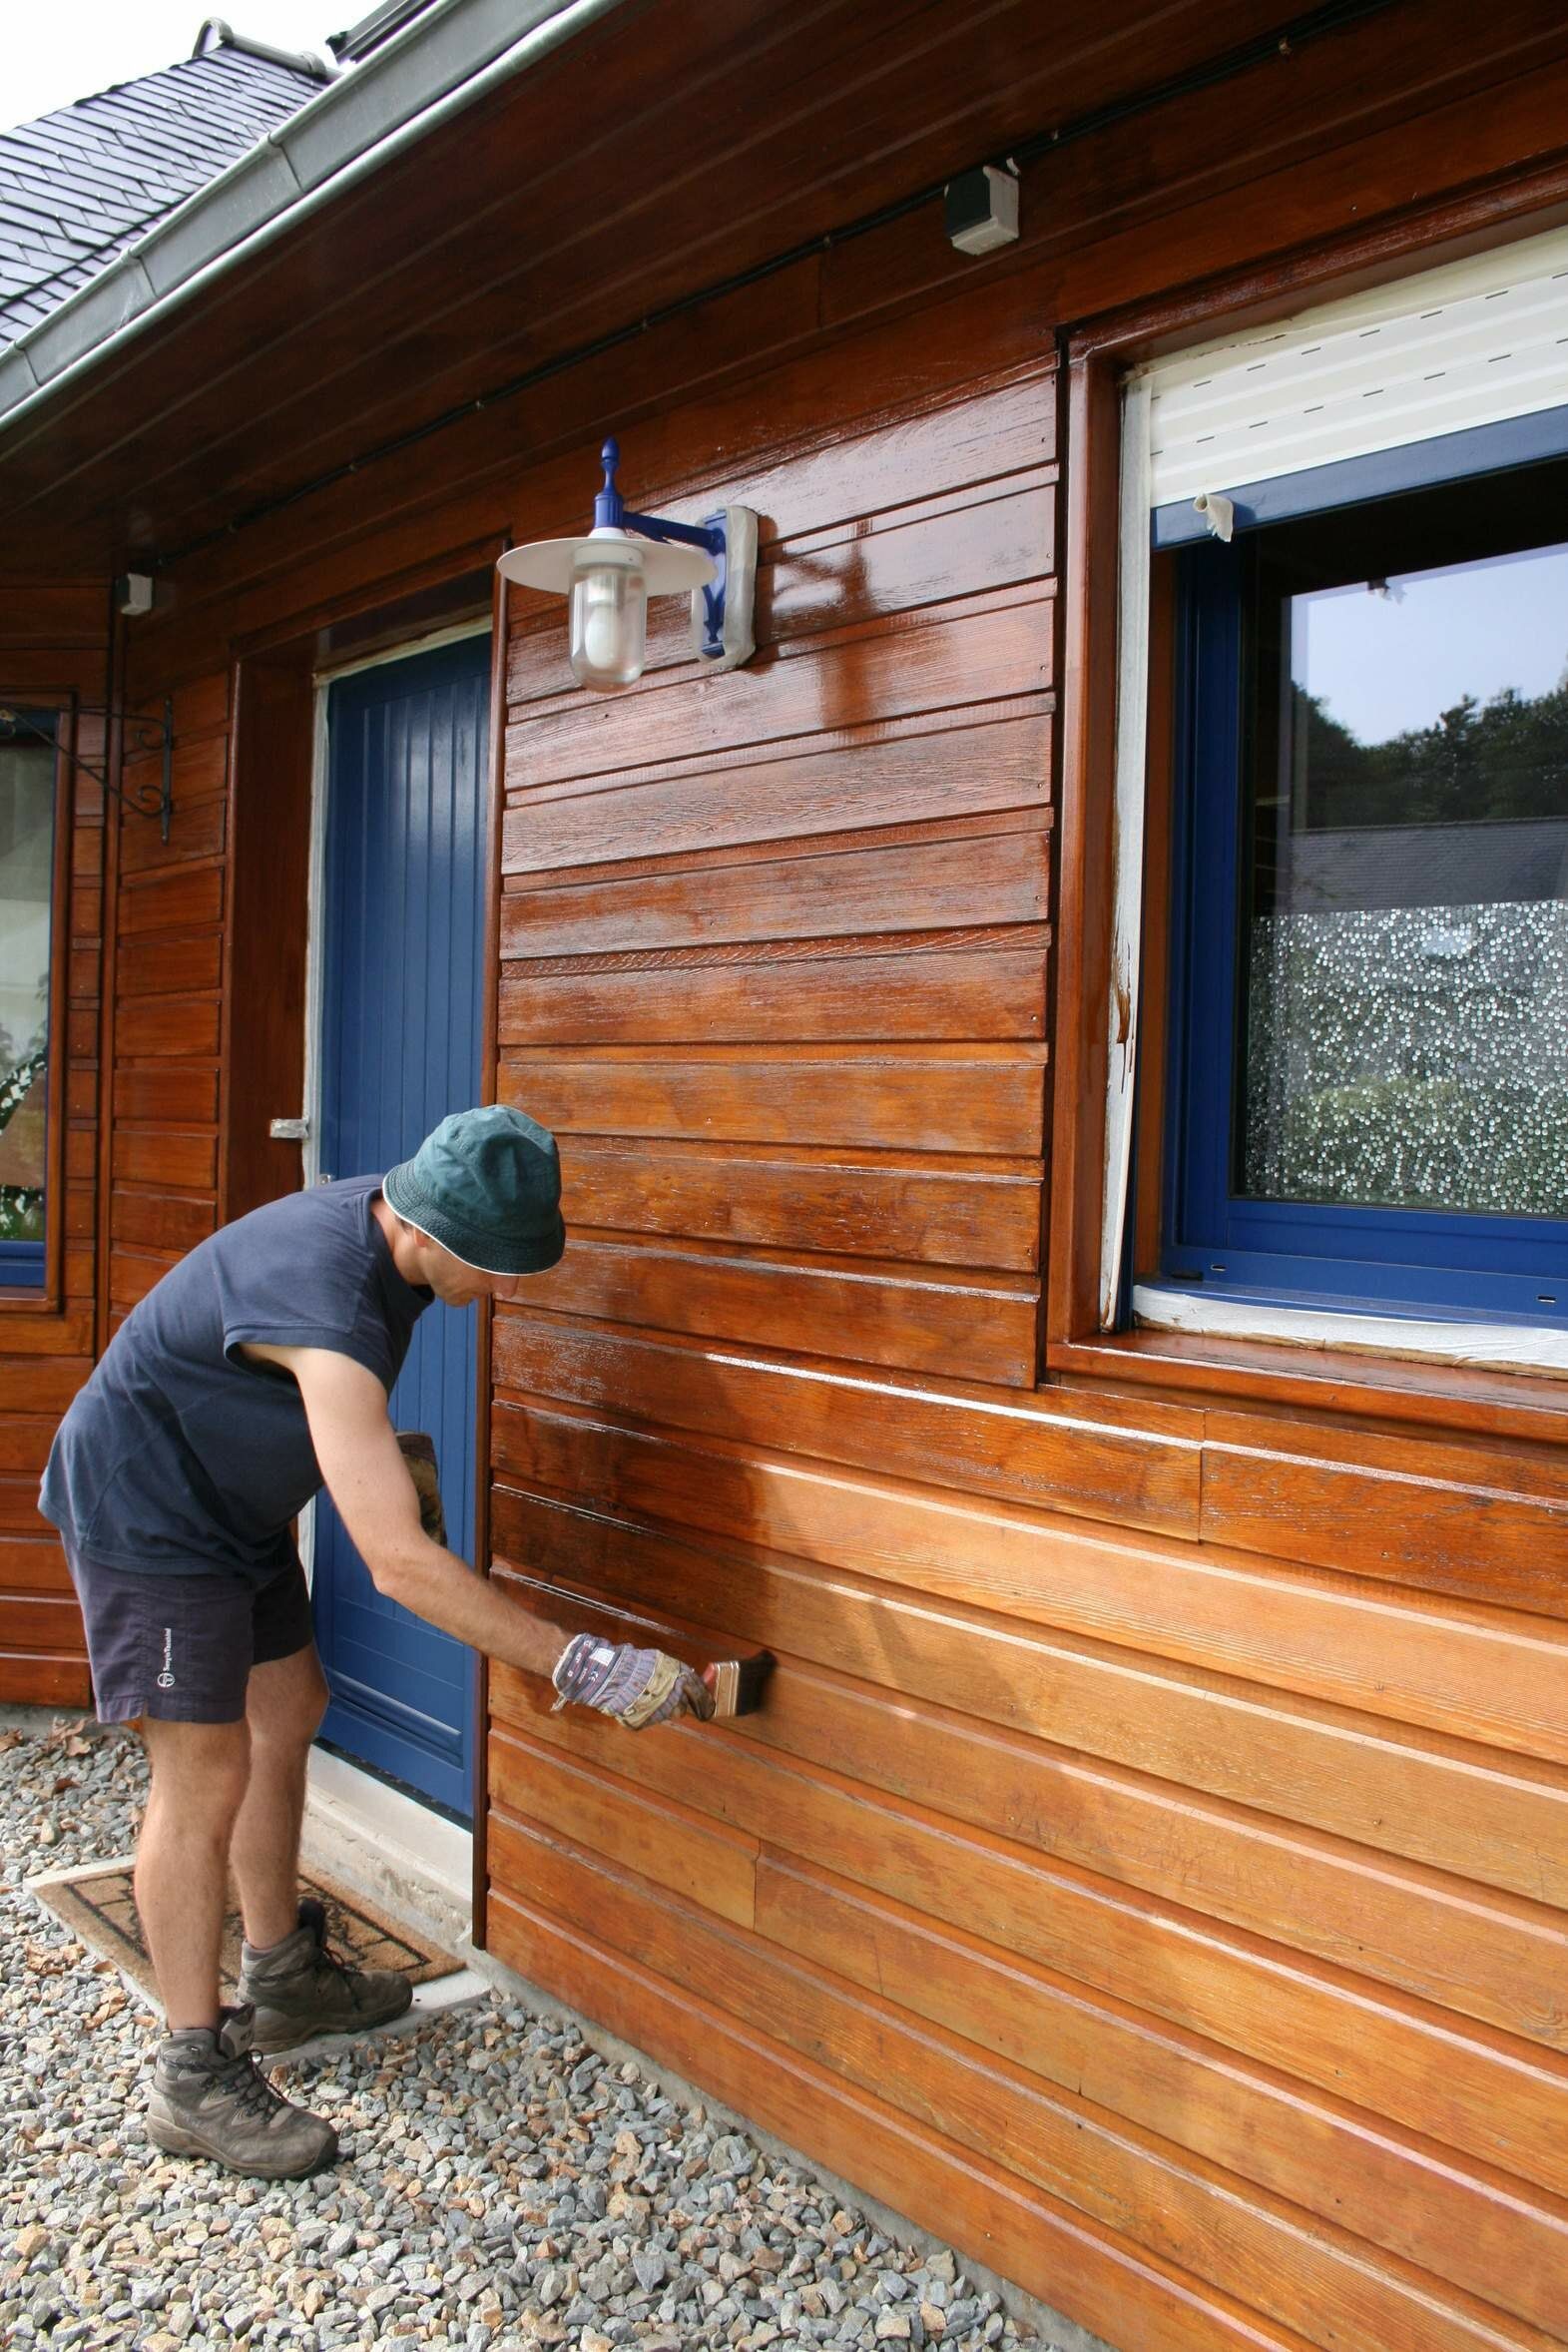
- Protects against UV rays: Some wood stains contain UV protection, which can help prevent the wood from fading or becoming discolored over time.
- Protects against moisture: Some wood stains contain water-resistant properties, which can help protect the wood from moisture damage.
Overall, wood staining is a great way to add color and protection to your wood projects. However, it’s important to note that not all stains are created equal, and some may not be compatible with certain finishes, such as Danish oil. Always read the label and do a test on a small, inconspicuous area before applying any stain or finish to your project.
Applying Danish Oil

If you’ve decided to apply Danish oil over your stained wood, you’ll be pleased to know that it’s a relatively straightforward process. Here’s what you need to know:
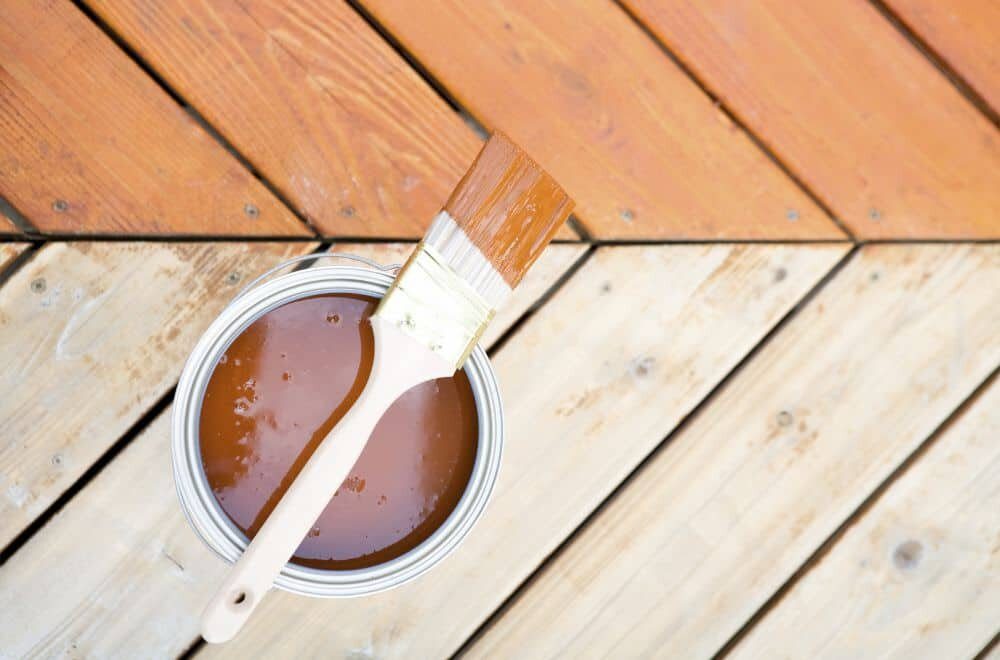
What is Danish Oil?
Danish oil is a type of wood finishing oil that is made up of a blend of oils and varnish. It’s a popular choice for finishing wood because it provides a durable, water-resistant finish while also enhancing the natural beauty of the wood.
Benefits of Danish Oil
Applying Danish oil to your stained wood can offer several benefits. Here are a few:
- Enhances the natural beauty of the wood: Danish oil can bring out the natural grain and color of the wood, giving it a rich, warm glow.
- Provides a durable finish: Danish oil creates a hard, water-resistant finish that can protect your wood from scratches, stains, and other damage.
- Easy to apply: Danish oil is easy to apply with a brush or rag, and it dries quickly, so you can apply multiple coats in a short amount of time.
When applying Danish oil over stained wood, it’s important to make sure that the stain is completely dry before you start. This will help ensure that the oil adheres properly and doesn’t create any unwanted effects.
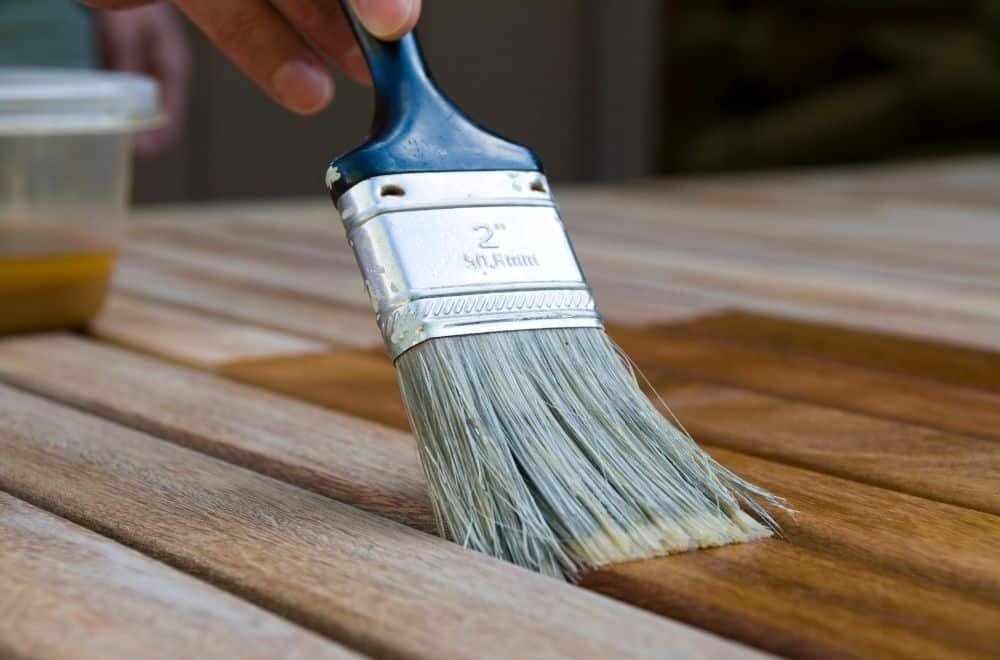
To apply Danish oil, simply brush or wipe it onto the wood in a thin, even layer. Let it sit for a few minutes, then wipe off any excess with a clean cloth. Repeat this process until you’ve achieved the desired level of sheen and protection.
Overall, applying Danish oil over stained wood can be a great way to enhance the natural beauty of your wood while also providing a durable, water-resistant finish. With a little bit of patience and attention to detail, you can achieve a beautiful result that will last for years to come.
The Process of Staining and Applying Danish Oil

If you are wondering whether it is okay to apply Danish oil over stain, the answer is yes. However, it is important to understand the process of staining and applying Danish oil to achieve the best results. Here is a breakdown of the process:
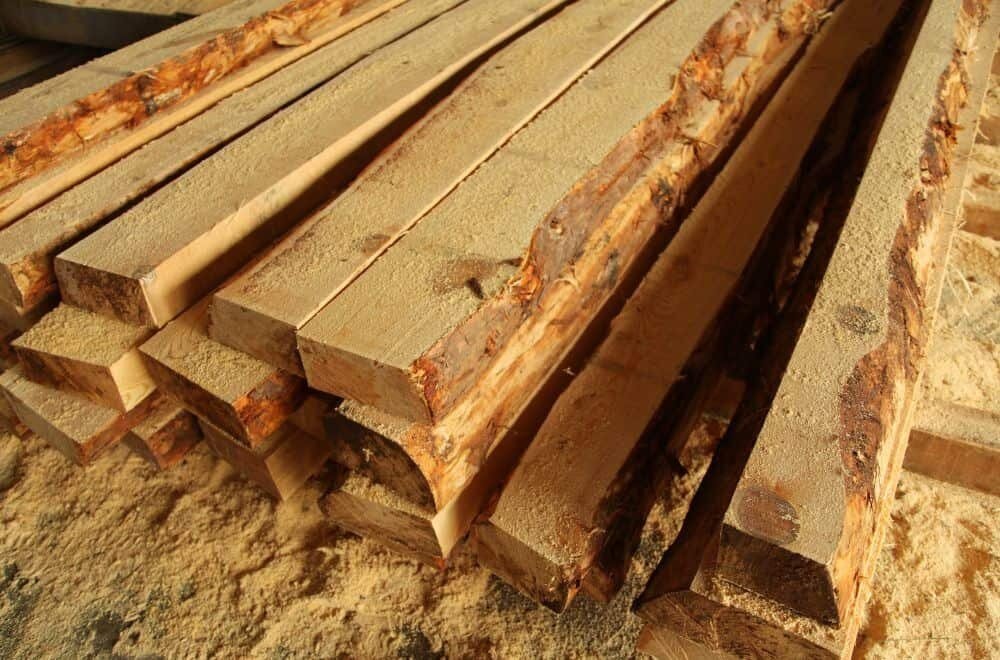
Preparation for Staining
Before you start staining, it is important to prepare the wood surface properly. This involves sanding the wood to remove any rough spots or imperfections. You can use a sandpaper with a grit of 120 to 150 for this purpose. After sanding, wipe the wood surface with a clean cloth to remove any dust or debris.
Steps to Stain Wood
Once the wood is properly prepared, you can start staining. Here are the steps to follow:
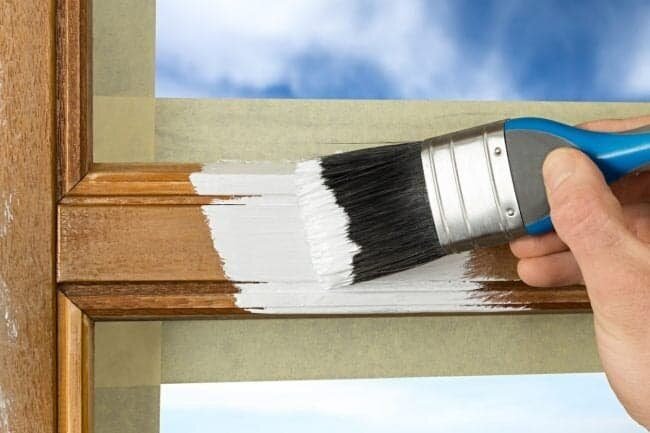
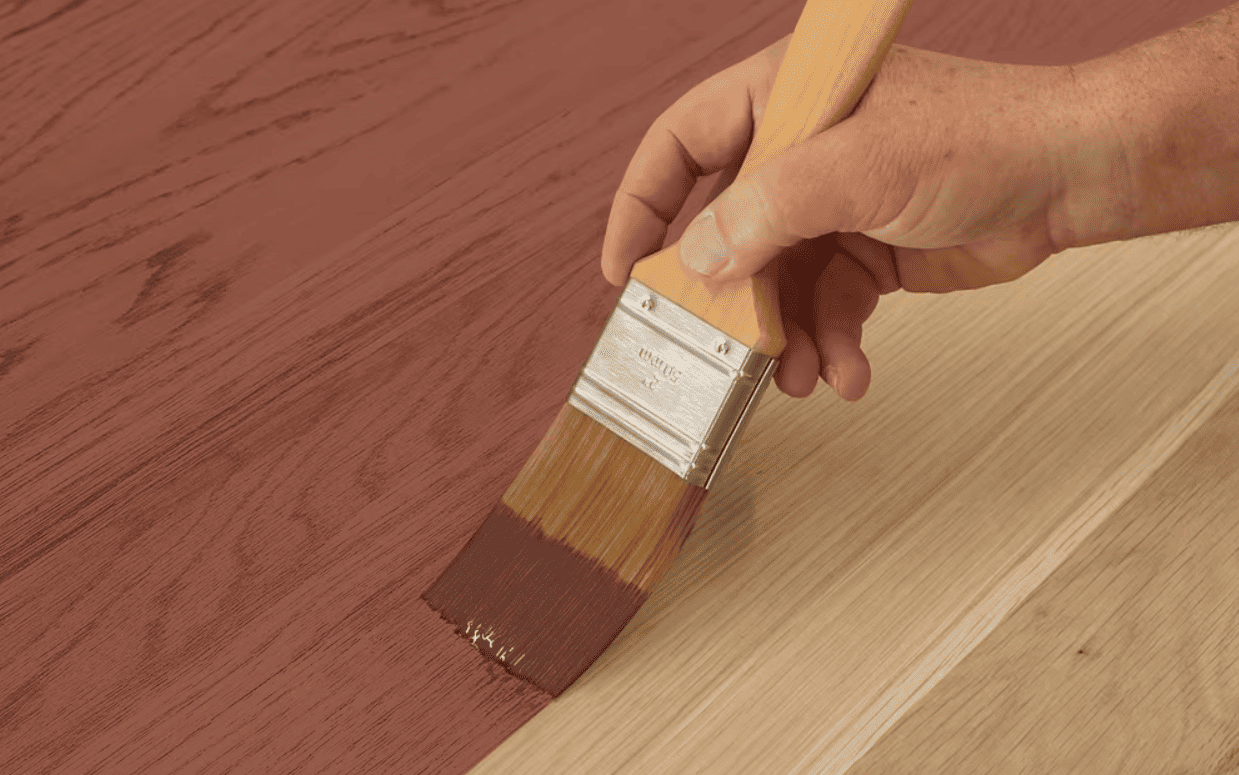
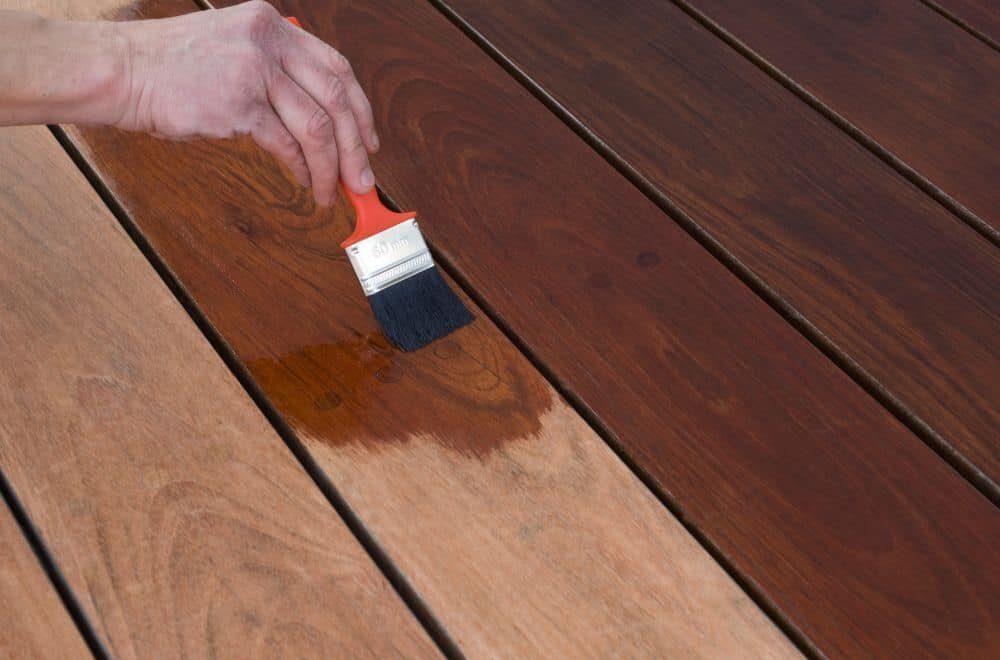
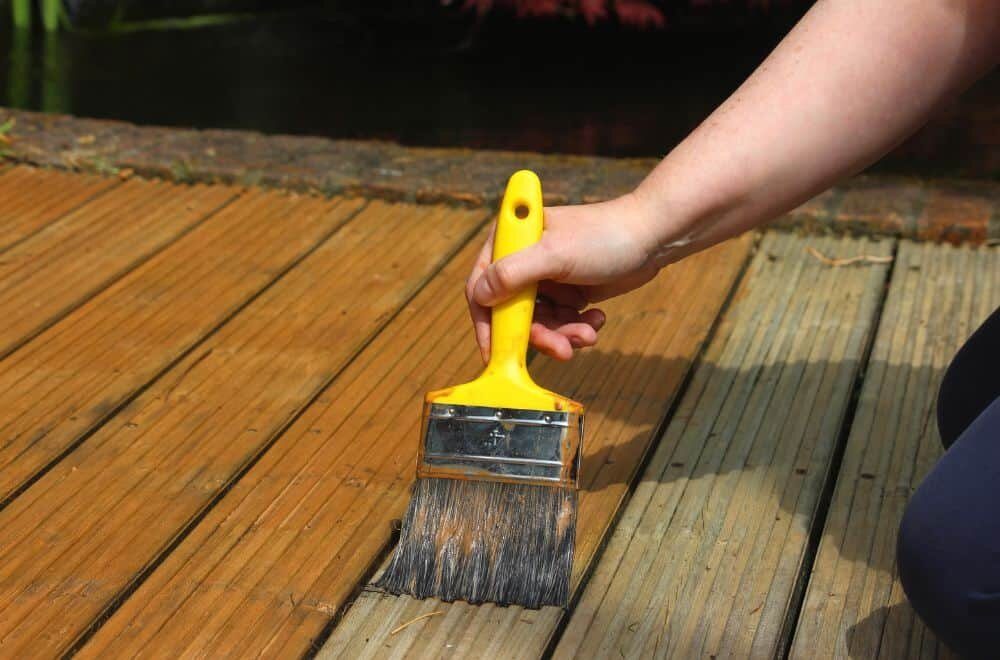
- Apply the stain to the wood surface using a brush or a cloth. Make sure to apply the stain evenly and in the direction of the wood grain.
- Let the stain sit on the wood for a few minutes. The longer you let it sit, the darker the color will be.
- Wipe off any excess stain with a clean cloth. Make sure to wipe in the direction of the wood grain.
- Let the stain dry completely before applying Danish oil.
Applying Danish Oil After Staining
Once the stain is dry, you can apply Danish oil to the wood surface. Here are the steps to follow:
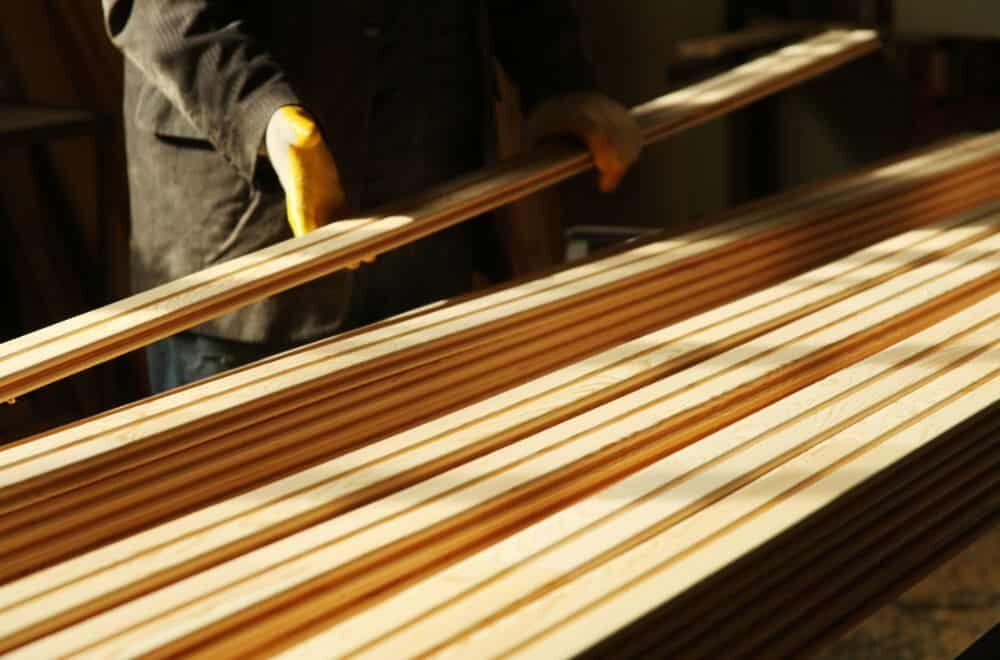
- Shake the Danish oil container well before use.
- Apply a thin coat of Danish oil to the wood surface using a brush or a cloth. Make sure to apply the oil evenly and in the direction of the wood grain.
- Let the Danish oil sit on the wood for a few minutes.
- Wipe off any excess oil with a clean cloth. Make sure to wipe in the direction of the wood grain.
- Let the Danish oil dry completely before applying a second coat if desired.
It is important to note that Danish oil is a blend of oil and varnish, which can enhance the appearance of the stain and add a rich, low-luster sheen. However, ensuring the stain is completely dry before applying Danish oil is crucial to avoid any issues with the finish.
Considerations Before Staining and Applying Danish Oil
When it comes to staining and applying Danish oil to wood, there are a few considerations you should keep in mind to ensure a successful and safe project. In this section, we’ll cover some important factors to consider before starting your project.
Choosing the Right Stain
Choosing the right stain is crucial to achieving the desired color and finish for your project. Here are some things to keep in mind when selecting a stain:
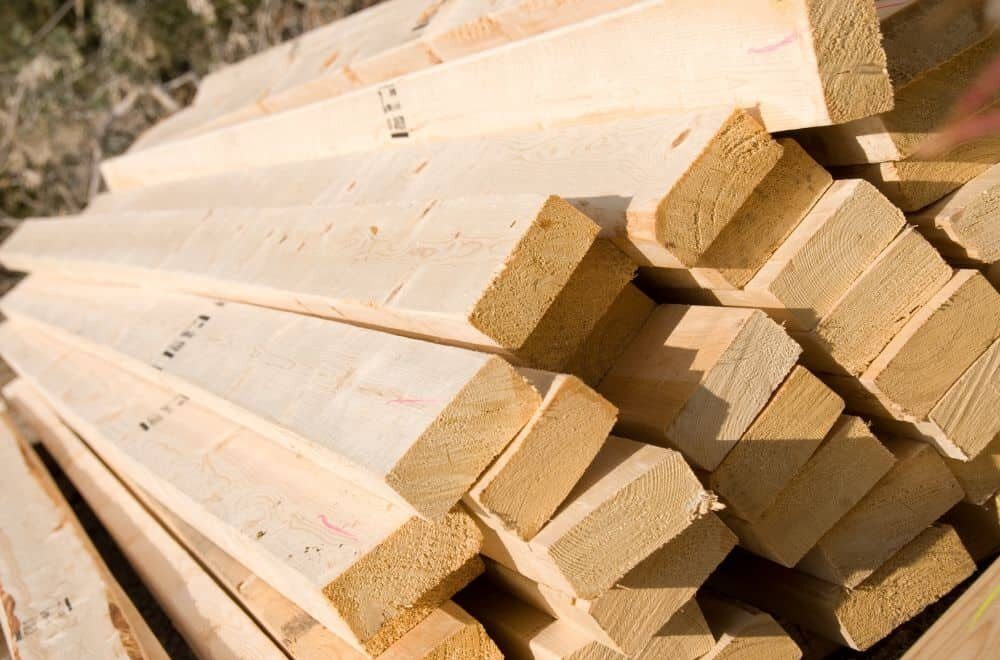
- Type of wood: Different types of wood absorb stain differently, so it’s important to choose a stain that works well with the type of wood you’re using.
- Color: Stains come in a variety of colors and shades, so choose one that complements your project and achieves the desired look.
- Transparency: Stains can be transparent, semi-transparent, or opaque. Transparent stains allow the natural wood grain to show through, while opaque stains cover the wood completely.
Choosing the Right Danish Oil
Danish oil is a popular finish for wood projects because it provides protection while enhancing the natural beauty of the wood. Here are some things to consider when choosing a Danish oil:
- Type of wood: Like with stains, different types of wood absorb Danish oil differently, so choose an oil that works well with the type of wood you’re using.
- Satin or gloss finish: Danish oil comes in a variety of finishes, from satin to gloss. Choose the finish that best suits your project.
- Drying time: Danish oil takes longer to dry than other finishes, so be sure to plan accordingly.
Safety Precautions
Staining and applying Danish oil can be hazardous if proper safety precautions are not taken. Here are some safety tips to keep in mind:
- Wear protective gloves and eyewear when handling stains and oils.
- Work in a well-ventilated area to avoid inhaling fumes.
- Dispose of rags and other materials soaked in stain or oil properly, as they can spontaneously combust.
By considering these factors before staining and applying Danish oil to your wood project, you can ensure a beautiful and safe finished product.
Frequently Asked Questions
Can I apply Danish oil over water based stain?
Yes, you can apply Danish oil over water-based stain, but it’s important to make sure the stain is completely dry before applying the oil. Water-based stains can take longer to dry than oil-based stains, so it’s important to be patient and wait until the stain is completely dry before applying the oil.
How to apply Danish Oil?
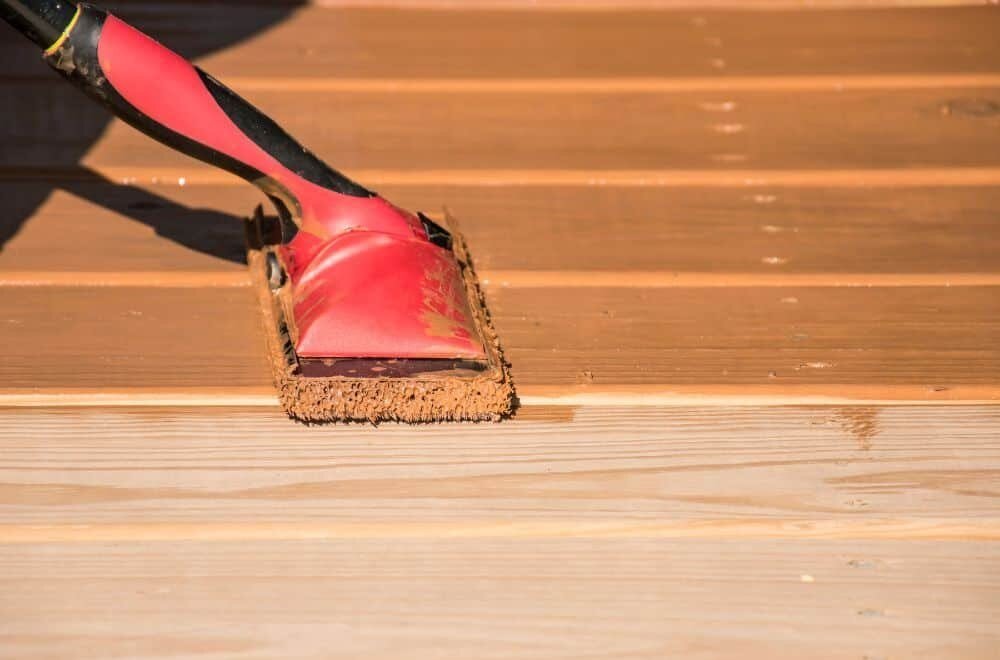
To apply Danish oil, you can use a brush, cloth, or foam applicator. Apply a thin, even coat of oil to the wood, working with the grain. Let the oil soak into the wood for about 15 minutes, then wipe off any excess with a clean cloth. Repeat the process until you achieve the desired level of sheen.
Can you use Danish oil after staining?
Yes, you can use Danish oil after staining. In fact, Danish oil can enhance the appearance of the stain, adding a rich, low-luster sheen. However, it’s important to make sure the stain is completely dry before applying the oil.
Should I stain wood before oiling?
Yes, you should stain wood before oiling. Staining the wood first will help to bring out the natural beauty of the wood and provide a consistent color. Applying oil over the stain will help to protect the wood and enhance its natural beauty.
Danish oil over polyurethane?
It is not recommended to apply Danish oil over polyurethane. Polyurethane creates a hard, protective layer on top of the wood, which can prevent the oil from penetrating the wood. If you want to use Danish oil, it’s best to apply it to bare wood or wood that has been stained but not finished with polyurethane.
Tinted Danish Oil?
Yes, you can use tinted Danish oil to add color to your wood. Tinted Danish oil is available in a variety of colors and can be used to enhance the natural beauty of the wood or to add a pop of color. Just like regular Danish oil, it’s important to make sure the wood is clean and dry before applying the tinted oil.
Mari bergabung di Slot88 resmi permainan paling fun di slot! Temukan keseruan dan peluang emas meraih kemenangan serta hadiah menarik di setiap putaran. Jangan lewatkan momen istimewa ini, segera kunjungi link Slot88 resmi dan mulailah petualanganmu! Ayo bergabung sekarang dan tunjukkan keberuntunganmu!